It’s been raining the past few days so I haven’t had a chance to skate – so instead I decided to paint my nails.
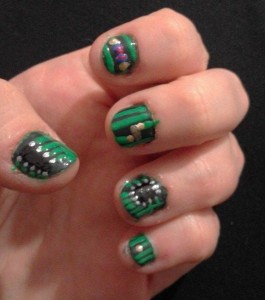
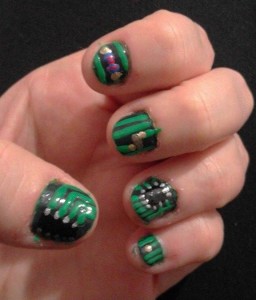
Rather than your standard block of colour, I like to opt for nail art designs when I have extra time on my hands! My boyfriend is an electronic engineer so I was inspired to paint them in a PCB (printed circuit board) design. He uses them all the time so I was familiar with them, but did a quick Google search for guidance images anyway.
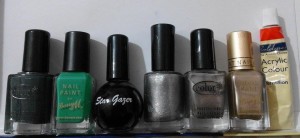
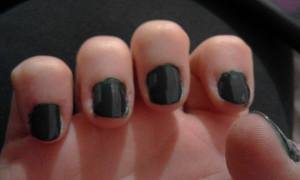
So to start, paint your nails fully using the dark green colour (left most polish in the first picture). Use a base coat too if you want to protect your nails from staining.
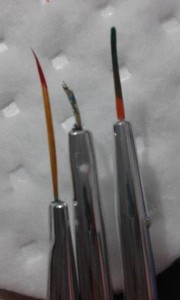
Once the dark green base has dried (representing the solder mask), I used the lighter green (picture 2nd from left in first photo) and drew some circuit lines with a fine nail art brush. I added dots of gold polish to represent soldering points and used the black polish to draw chips and QFN packages with silver lines representing pins. The blue and red acrylic paints were used to paint a resistor. (Obviously, you could paint anything you fancy putting on really!) Here are the finished nails:
They are a bit messy around the sides, but nail polish remover can clean that right up! Don’t forget to add a clear topcoat to the finished design to lock in the pattern, especially important if you have used acrylic paints (it will just wash off with water!)
So there we have it, not a skating related post but a cool design and was still an enjoyable pastime waiting for the rain to ease up (and to look even cooler skating in the future 😉 )
